My website as a whole is designed for me to have an extra layer of learning materials for student use. When I am finished with my website, students will be able to access various tutorials within the website. I will also be able to continue making multimedia products for their use. This is extremely helpful in the classroom for students that require a little extra help, students who may have been absent for part or all of various lessons, and for them to refer back to as needed.
The video I created is just the first of many that I plan to create throughout my masters for the purpose of educating students on how to properly photograph, market, mat, frame, and hang their artwork. This video in particular is geared towards advanced art students as they prepare their own artwork and artwork going to galleries and exhibitions.
This video was taken with an iPhone 11 Pro Max and was edited with Adobe Premiere Pro, one of the more complicated, but also more professional types of video editing software on the market. While software like iMovie is available to edit video like this, once the learning curve of Adobe Premiere has been mastered, I find the process to be much more straightforward with a more desirable product.
To create the video, I requested the assistance of a student to film me going through the process of hanging, photographing, and editing artwork. The same thing could have been achieved with a regular camera and tripod, but because I was using my camera and tripod to photograph artwork in the video, this wasn’t an option. I also want students to be aware that they can use the resources they have readily available to capture video.
Once the videos were created, I opened the videos and screen recording in Premiere to compile the video. I sped up the screen recording to 600% and did an overlay of my voice explaining the process of how to edit the photos taken. I then reviewed the video material and removed any gaps in the audio.
To create a video in Premiere, some of the most important and helpful tidbits are:
The portion that you want showing has to be on top of the other videos and audio.
Whatever is on top is what the viewer can see.
The Cut (C) tool is used to trim the video down to the portions of each video that you want to use.
To export, the video must be in H.264 format.
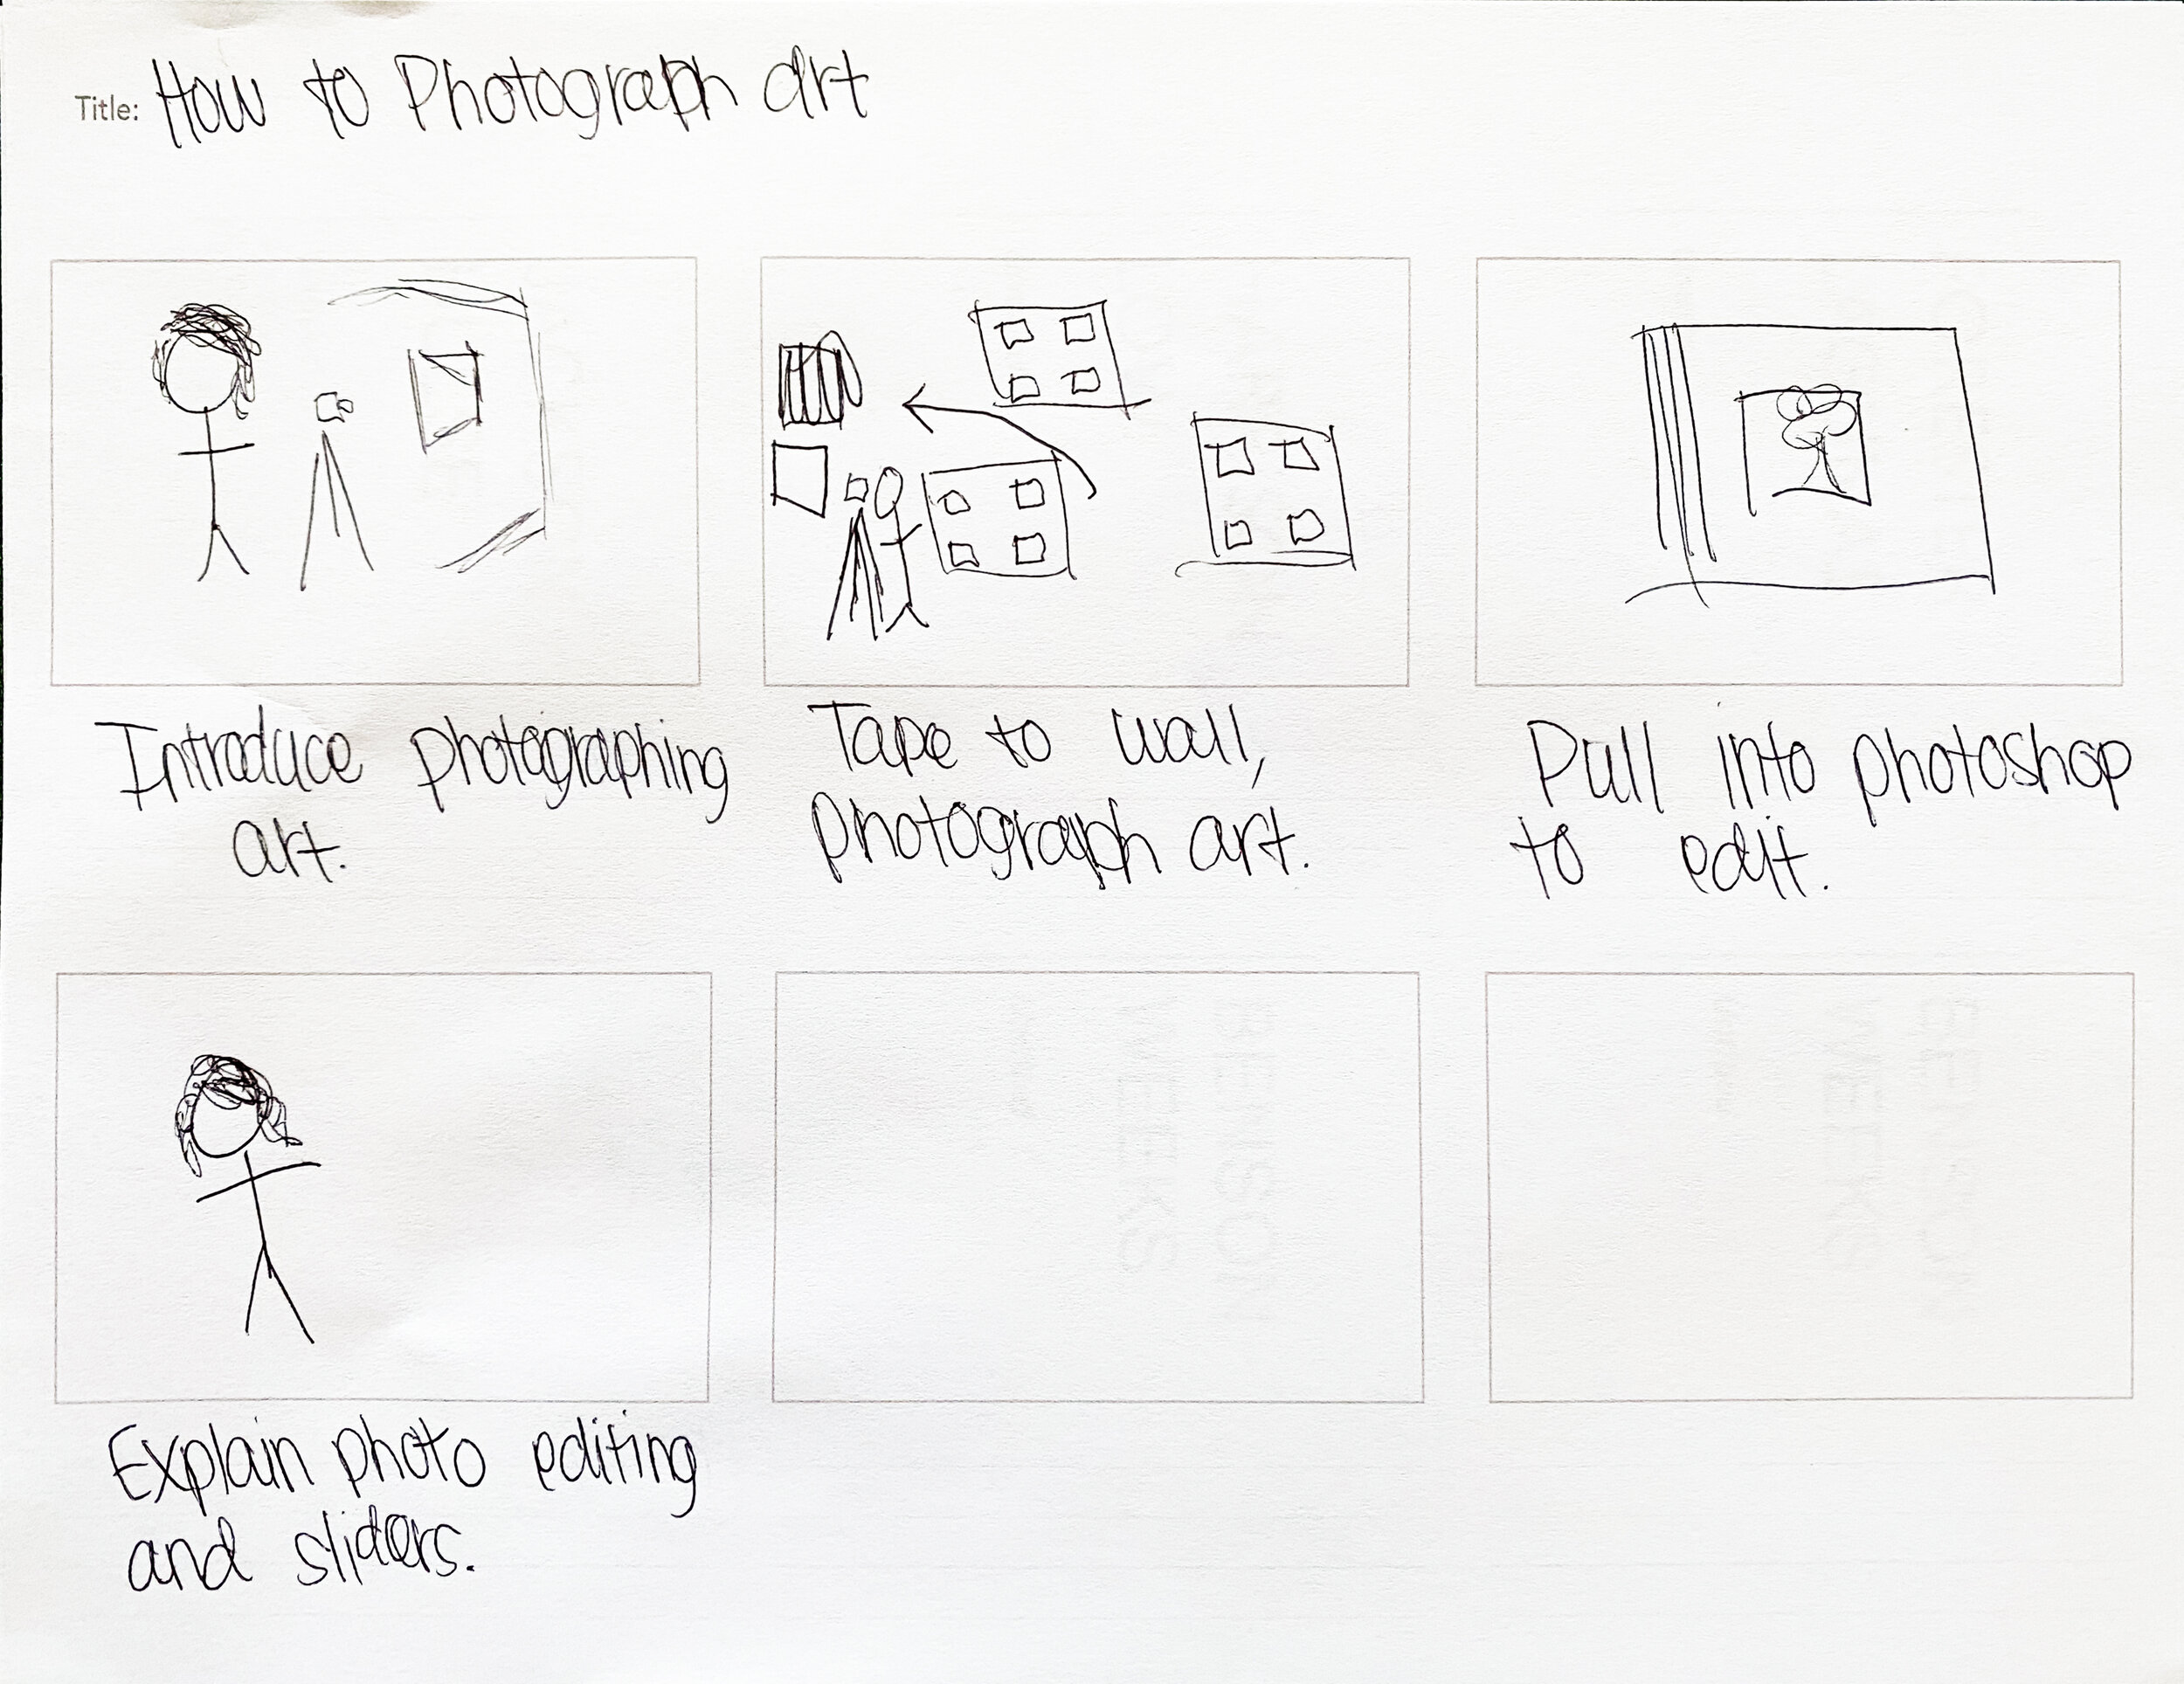
The conceptual framework process was done by coming up with an idea and then transferring that idea to a storyboard. In editing, the flow worked a little better to stray from what was planned during the storyboard phase, but conceptualizing the idea prior to capturing video ensured that all elements of the video were planned out prior to filming and nothing was forgotten.